Since I was little I have loved Elizabethan clothing. What is there not to love? The drama of the portraits, the bling, the huge skirts, the luxurious fabrics...swoon. Just recently I decided to try my hand, once again, at making the clothing from back then. I did this quite a bit as a child: cutting up dress up clothes to make things I thought were "historical". Back then I referred to the Elizabethan Costume Page. Which is still there, helpful as ever. They have a lovely little thing called a custom corset pattern generator, which takes the guesswork out of drafting patterns. You enter your measurements in and voila, a set of instructions is produced for creating your own bodice pattern. Once I had that, I did some research on colors and shapes and fabrics.
Note: There are special papers you can buy for drafting, but paper bags work good too!

Here you will find a lovely bit of information on the clothing of the lower and middle classes and the plethora of colors available to Elizabethans. I chose to do a middle class lady, roughly 1570's. I urge you to look closely at the painting below. You will see clothing across all classes, and all stages (there is even a nursing baby.) The colors represented are here in full force also.
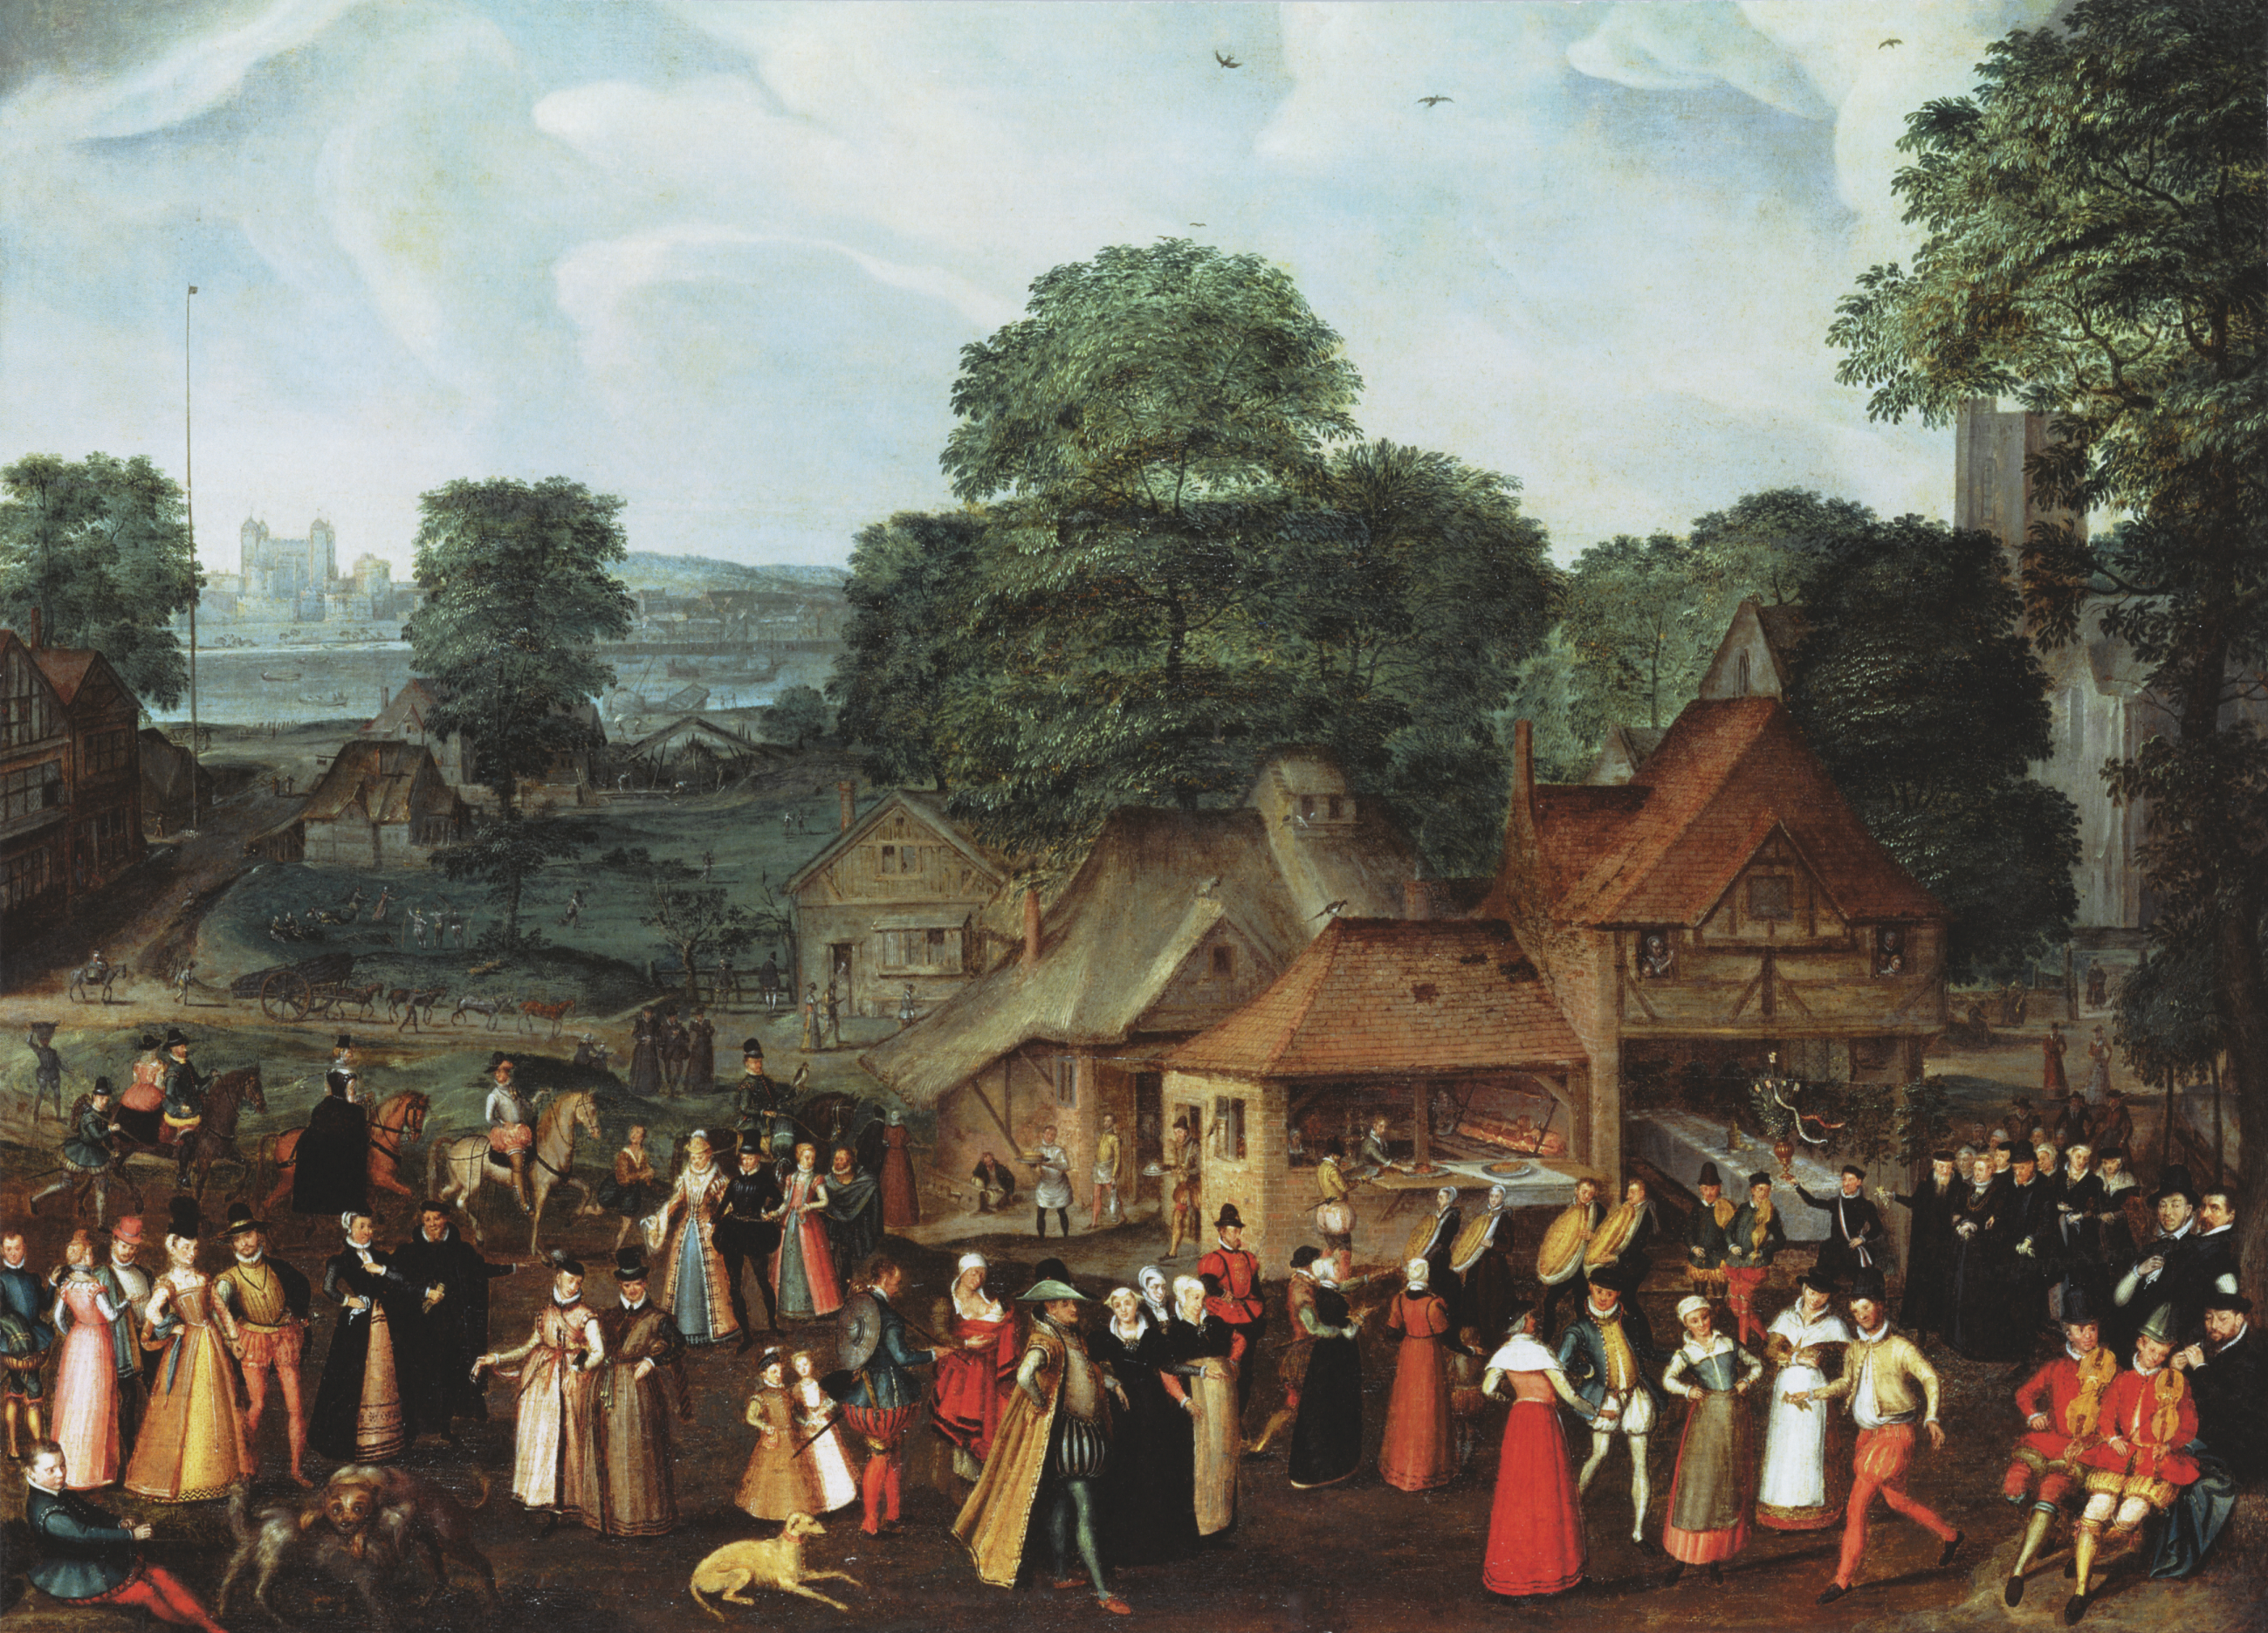 |
| Attributed to Marcus Gheeraerts the Elder [Public domain or Public domain], via Wikimedia Commons |
This was my first adventure, so I'm not going to lie, I didn't really get every little detail of what I was aiming for down. Because I was in Florida, I knew I needed something more manageable than wool, which is what the kirtle would traditionally be made of. And since I was on a budget, I decided to forgo linen as an alternative, even though that is the coolest option. I settled instead on a pair of 100% cotton twill curtains from Ikea, which I actually already had. They were just laying there in my closet asking to be transformed, so off I went to dye them. Purely out of preference, but also not too far from a color in the link above, I got a dusty teal out of both panels. I then set about sewing the interlining boning channels. (You can see here, the interlining is the blue color before dye, and I must have cut it out before I did.)


Clearly the Elizabethans did not have plastic. But in this case I was looking for something that was washable. I found a great boning in plastic zip ties. You can get huge ones at the hardware store and they are easily cut with scissors. There is actually evidence that no boning was also common, believe it or not. I found this out from the incredibly knowledgeable people in the Elizabethan Costume Group on Facebook. Trust me, they know their stuff! The interlining was stiffened with things such as hide glue, or pad stitched with wool. I actually found the bones to be fairly uncomfortable. I kicked them to the curb once I realized it was perfectly reasonable not to have them! I did opt to keep them just at the side laces to keep my lacing channels tidy. I was also not aiming to "corset", as many people do try to do. The Elizabethans did not do this. They simply created a flat front silhouette, without squishing the bodily organs in weird ways like those hard-core Victorians did. This makes for a very comfortable fit, actually. And it also straightens your back!
Once I was done with fitting the interlining, I set out to "wrapping" the outer fabric around it.

The other step here is that I actually stitched the black trim after wrapping. But I know many people who do that first before they wrap. In that case you can do it by machine and it goes faster. In my case I could be more exact about placement but it took longer due to hand stitching. My inspiration for trim placement came from this sketch:
 |
| 1570, English Female Merchant Class, Artist: Lucas De Heere |
Next step is making grommets. I did this with a buttonhole stitch and an awl. I poked the fabric and progressively stretched the hole wider and wider. Then did buttonole stitch all around the hole.


Then the linen lining is added. I do this by invisible stitch.


All ready to lace up! There are several steps I'm not showing here, like figuring out how to add a skirt to the bodice. I ended up knife pleating the front half and cartridge pleating the back. Then I made the cord with a hand lucet. It's essentially just one loop as though you are knitting. You keep pulling the loop through the next loop. Ties would have been finger looped, is my understanding, which is a different method. I did not feel confident enough to try this. I laced it with a huge embroidery needle. Not shown here also are the guards on the skirt. These were practical and pretty. They offered both a way to stiffen the hem (when padded with wool), keeping the skirts away from the legs as one walked, and also a little strip of fabric could switched out when it had gotten too stained or dirty.
Tip: Wait to cut your square neck smock until after you complete your kirtle. Then you have a neckline to trace.
The Partlet
Next was making the partlet. I downloaded the free partlet pattern by Margo Anderson. This is also where I got my coif pattern. Partlets were made out of linen or wool. The linen ones had a ruffle, and the wool ones did not. Here you can see both in action:
 |
| The Vegetable Seller, 1567, Artist: Pieter Aertsen |
And here is my version :


I'm very proud of the way this collar lays. It was achieved with a bit of iron-on interfacing, another modern hack.
Coifs
Making a coif is sort of an art form, I think everyone has rejects of some sort. I'm not sure I quite understand or appreciate its shape, but it is a staple of Elizabethan clothing, so there's that. I found my pattern seemed really small. I had to make it bigger. Someday I'll revisit it and get a better shape. For now, I hide it under a straw hat.


I'm actually quite pleased with the second one. I think I got it to a good place. Later I would realize that the hair underneath makes a big difference. Women and girls taped their hair. This is when you braid or thread a ribbon around two braids wrapped around the head.
 |
| Unknown Painter, Hilleke de Roy and four of her orphans, 1586 |
I had short hair so I had to improvise:

This is yarn braided into my hair to give me length. You can also do this with hair extensions. Since it was going under a coif this worked.
Later I purchased The Tudor Tailor book, which is amazing. I highly recommend it. In it I saw another version of the coif, which works well with something called ear irons. Ear irons were a piece of metal, sort of like a headband, that extended over the ears and to which Elizabethans pinned their coifs. This kept them from flapping in the wind or falling off. I purchased these, from Louise Pass, and her wonderful shop on Etsy.
It took a lot of trial and error.

Clearly I am not amused.

But eventually I got it:

Sleeves
Sleeves were made by using The Tudor Tailor and tied to the kirtle with lucet cord. In the future I will make them with grommets. This time I made loops.
Hat
Burnley and Trowbridge is a great company that sells this enormous hat. I love it. It does flop in the wind a LOT. So, for Florida, I quickly learned this is not so suitable for tropical winds. But it does take a lovely picture.

Here you see also the apron I made, also in the Tudor Tailor (seriously, just buy it). I even ironed it in squares as seen in the painting from 1585 below:
 |
| Attributed to Antoon Claeissens [Public domain], via Wikimedia Commons A family saying grace before a meal by Anthonius Claessins, 1585 |
Pregnancy Fit
Later, I tested the theory of whether this kirtle would hold up in pregnancy. Since kirtles were not corsets, there was actually no issue with wearing one. Elizabethans did not necessarily have pregnancy clothes. They simply laced looser or unlaced a bit of the bodice, covered by the apron in cases of front-lacing. For side lacing, I simply had a bit more smock showing (undershirt) which is totally acceptable. Here I am at 3 months pregnant:


Here also is the other form of partlet, usually made of wool. For practical purposes I made mine of linen.
I love how this turned out!